Let’s begin with Lecture 4 of the HTML5 & CSS3 series. Understanding Tags, Elements, and Attributes in HTML. This lecture is for absolute beginners; even kids can follow along and understand.
🎯 Objective:
By the end of this lecture, you will:
- Know what tags, elements, and attributes are.
- Be able to recognize them in code.
- Understand how they work together to build a webpage.
🧒 What Are Tags?
In HTML, tags are like labels that tell the browser what kind of content is coming next.
Think of it like this:
If your webpage was a classroom, tags would be signs on the doors — like “Bathroom”, “Library”, or “Teacher’s Desk”.
Example:
<h1>This is a heading</h1>
<p>This is a paragraph.</p>
Here, <h1> and <p> are opening tags, and </h1> and </p> are closing tags
📦 What Are Elements?
An element is made up of an opening tag, some content, and a closing tag.
Structure:
<opening-tag> Content goes here </closing-tag>Example:
<h1>Welcome to My Website</h1>This whole thing is called an element.
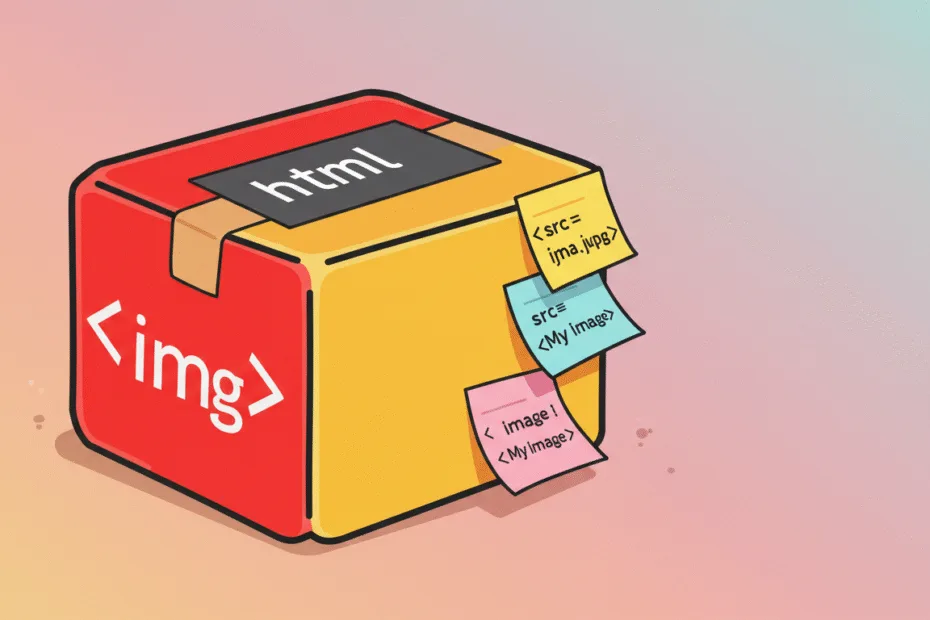
Some elements don’t need closing tags. These are called self-closing tags.
Example:
<img src="image.jpg" />
<br />
⚙️ What Are Attributes?
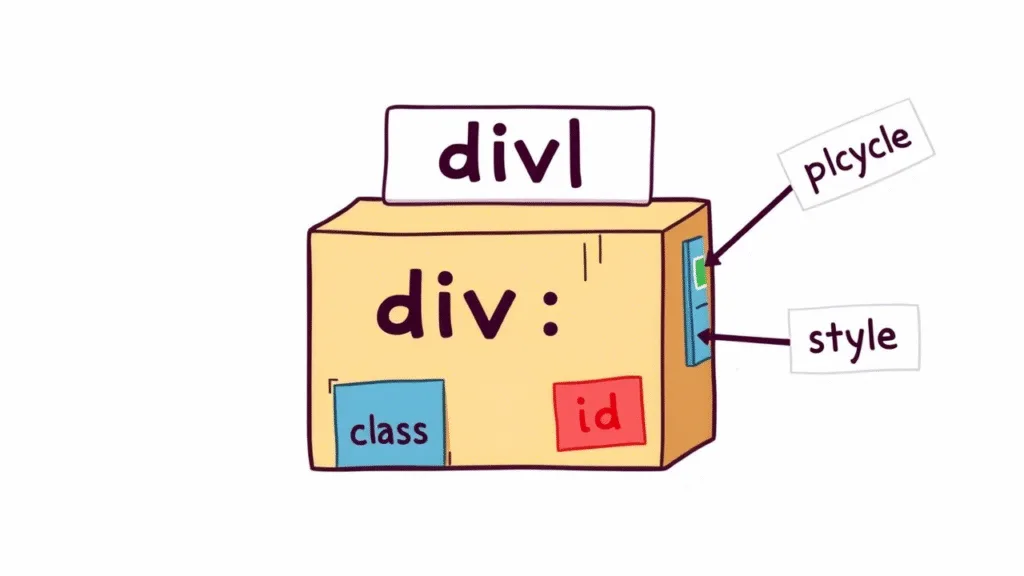
Attributes give extra information about an element.
They live inside the opening tag and always come in name-value pairs like this:
name="value"Example:
<a href="https://www.najiapp.com">Visit Najiapp</a>Here, href is the attribute name, and “https://www.najiapp.com” is the attribute value.
Think of it like this:
If an element is a house, then attributes are the details like color, size, and number of rooms.
🔍 Commonly Used Attributes
| Attribute | Used With | Purpose |
|---|---|---|
href | <a> | Tells where the link goes |
src | <img> | Tells which image to show |
alt | <img> | Gives alternate text if image doesn’t load |
class | Any | Adds a label for styling with CSS |
id | Any | Gives a unique name to an element |
💡 Let’s Look at Real Examples
Example 1: Link (<a>)
<a href="https://www.example.com">Click me!</a>- Tag:
<a>and</a> - Element: The whole line, including the text
- Attribute:
href="https://www.example.com"
Example 2: Image (<img>)
<img src="cat.jpg" alt="A cute cat" />- Tag:
<img />(self-closing) - Attribute:
src="cat.jpg"tells which image to show - Attribute:
alt="A cute cat"gives alternative text

💻 Try This: Build Your Own Elements
Let’s practice using tags, elements, and attributes by creating a new HTML file.
Step 1: Create a New File
In your VS Code project folder (MyFirstWebsite), create a new file named:
my-profile.htmlStep 2: Add This Code
<!DOCTYPE html>
<html>
<head>
    <title>My Profile</title>
</head>
<body>
    <h1>About Me</h1>

    <p>Hi! My name is Naji. I love coding and building websites.</p>

    <h2>My Favorite Website</h2>
    <p><a href="https://www.wikipedia.org"  target="_blank">Visit Wikipedia</a></p>

    <h2>My Avatar</h2>
    <img src="avatar.jpg" alt="My Profile Picture" />
</body>
</html>
Note: You can replace
"avatar.jpg"with any image file you have saved in the same folder.
Step 3: Run with Live Server
Right-click the code → Show All Commands → Launch Live Server
🎉 You’ve just created a personal profile page!
🧪 Try It Yourself!
- Change the heading
<h1>to your favorite quote. - Update the paragraph to say something about your hobbies.
- Add another link to your favorite game or app.
- Try adding a second image below the first one.
🚀 Next Lecture Preview:
In Lecture 5, we’ll learn all about headings (<h1> to <h6>and paragraphs (<p>), and how to use them to structure your content clearly and beautifully.
Stay Updated
If you found this information useful, don’t forget to bookmark this page and Share and leave your feedback in the comment section below.
