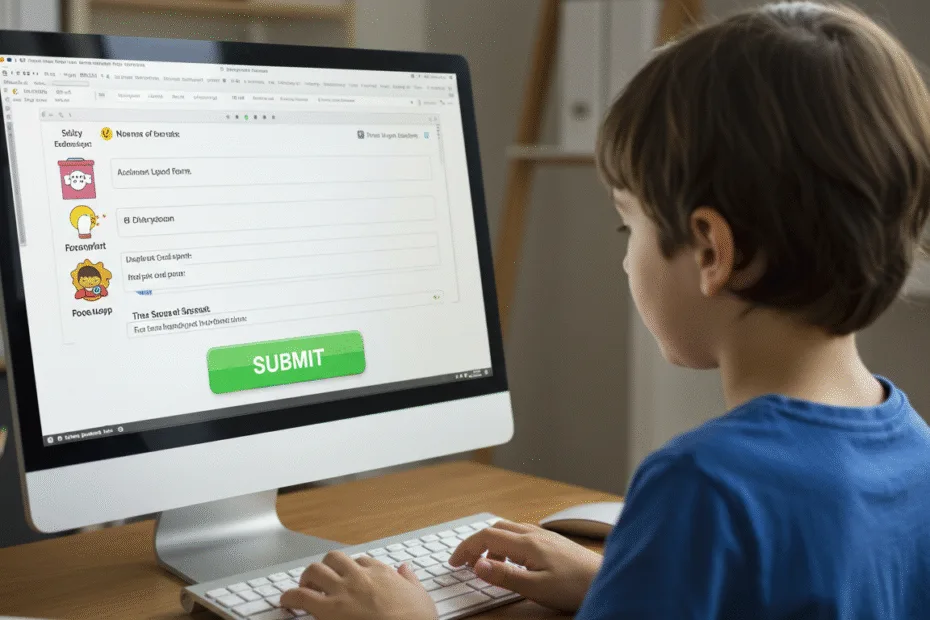
Let’s begin with Lecture 11 of the HTML5 & CSS3 series. Creating Forms in HTML – Input Fields, Buttons, and More! This lecture is for absolute beginners; even kids can follow along and understand.
🎯 Objective:
By the end of this lecture, you will:
- Understand how to create HTML forms
- Know how to use input fields like text, password, and email
- Be able to add buttons, checkboxes, and radio buttons
- Create your own “Contact Me” form
- Learn how to collect user data (without a backend for now)
📝 What is a Form?
A form is like a digital questionnaire — it lets users type in their name, choose options, or click buttons.
Think of it like this:
A form is like a magic box that asks questions and collects answers from people who visit your website.
We’ll start simple — today we’ll focus on building the structure of a form. We won’t process the data yet — just make it look good and work with inputs.
🔤 Basic Form Tags
| Tag | Description |
|---|---|
<form> | The container for all form elements |
<input> | A clickable button to submit or reset the form |
<label> | Describes what each input is for |
<button> | Clickable button to submit or reset the form |
<textarea> | Multi-line text input |
<select>+<option> | Dropdown menu |
📥 Text Inputs
<input type="text" placeholder="Enter your name">Common type values:
text– regular textemail– for email addressespassword– hides typed charactersnumber– only numbersdate– date picker
✅ Checkboxes and Radio Buttons
Checkbox – allows multiple choices:
<input type="checkbox" id="hobby1" name="hobby1" value="Reading">
<label for="hobby1">Reading</label>
Radio Button – only one choice allowed:
<input type="radio" id="color1" name="favcolor" value="Red">
<label for="color1">Red</label><br>
<input type="radio" id="color2" name="favcolor" value="Blue">
<label for="color2">Blue</label>
💻 Try This: Build a “Contact Me” Form
Let’s create a new HTML file with a basic contact form.
Step 1: Create a New File
In your VS Code project folder (MyFirstWebsite), create a new file named:
contact-form.htmlStep 2: Add This Code
<!DOCTYPE html>
<html>
<head>
    <title>Contact Me</title>
</head>
<body>
    <h1>Contact Me</h1>

    <form action="/submit" method="post">
        <label for="fullname">Your Full Name:</label><br>
        <input type="text" id="fullname" name="fullname" placeholder="John Doe"><br><br>

        <label for="email">Your Email:</label><br>
        <input type="email" id="email" name="email" placeholder="you@example.com"><br><br>

        <label for="message">Your Message:</label><br>
        <textarea id="message" name="message" rows="4" placeholder="Type your message here..."></textarea><br><br>

        <label for="age">Your Age:</label><br>
        <input type="number" id="age" name="age" min="5" max="100"><br><br>

        <label for="gender">Gender:</label><br>
        <input type="radio" id="male" name="gender" value="Male">
        <label for="male">Male</label><br>
        <input type="radio" id="female" name="gender" value="Female">
        <label for="female">Female</label><br>
        <input type="radio" id="other" name="gender" value="Other">
        <label for="other">Other</label><br><br>

        <label for="subscribe">Subscribe to my newsletter?</label>
        <input type="checkbox" id="subscribe" name="subscribe" value="yes"><br><br>

        <button type="submit">Send Message</button>
        <button type="reset">Clear Form</button>
    </form>

    <p><a href="index.html">Back to Home</a></p>
</body>
</html>Note: The action and method Attributes are placeholders for later, when you learn how to process form data using a server or JavaScript.
Step 3: Run with Live Server
Right-click the code → Show All Commands → Launch Live Server
🎉 You’ve built your first working form! It may not send emails yet, but it looks real and works perfectly in the browser.

🧪 Try It Yourself!
- Add another field like
"Phone Number"usingtype="tel". - Change the message textarea to have more rows.
- Add a dropdown menu for favorite color using
<select>and<option>. - Style one of the labels in bold using
<b>.
🚀 Next Lecture Preview:
In Lecture 12, we’ll learn how to style our form with CSS basics — like changing colors, fonts, and spacing — so your form doesn’t just work, but also looks amazing!
Stay Updated
If you found this information useful, don’t forget to bookmark this page and Share and leave your feedback in the comment section below.

