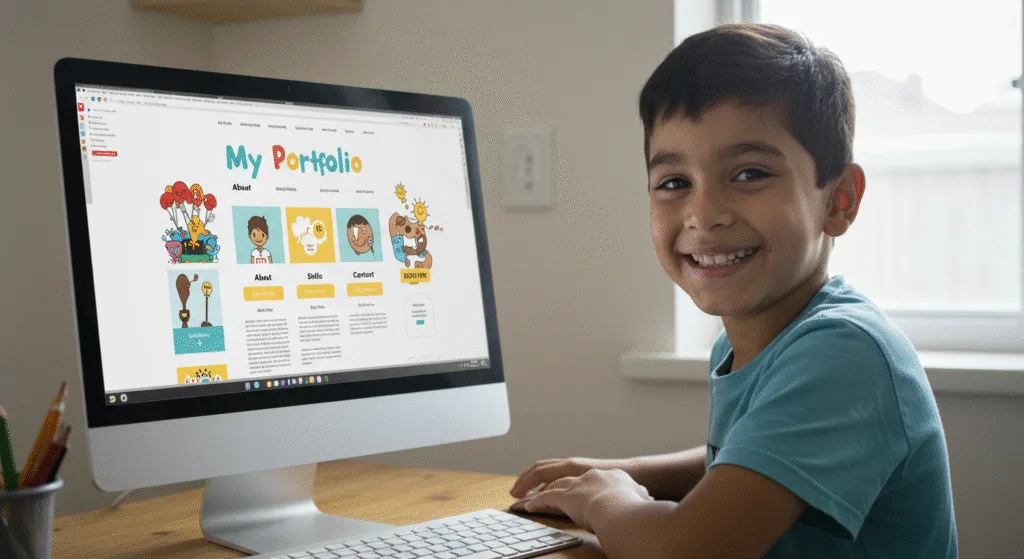
Let’s begin with Lecture 29 of the HTML5 & CSS3 series. Build a Personal Portfolio Page – Real-World Project. This lecture is for absolute beginners; even kids can follow along and understand.
🎯 Objective:
By the end of this lecture, you will:
- Combine everything you’ve learned so far to build a real-world project
- Create a personal portfolio page with sections like About Me, Skills, and Contact
- Use HTML5 semantic tags , CSS Flexbox/Grid , responsive design , and CSS variables
- Make your site look clean, professional, and mobile-friendly
- Have a real working website you can share with others!
🧱 What You’ll Learn in This Project:
| SKILL | USED IN THIS PROJECT |
|---|---|
| HTML Semantic Tags | <header>, <main>, <section>, <footer> |
| CSS Flexbox & Grid | Layout for navigation, skills, and contact |
| CSS Variables | For consistent colors and spacing |
| Responsive Design | Media queries for mobile view |
| Pseudo-Classes | Hover effects on buttons and links |
| Transitions | Smooth animations on hover |
💻 Try This: Build Your Own Personal Portfolio Page
Let’s create a new HTML file that displays a beautiful personal portfolio .
Step 1: Create a New File
In your VS Code project folder (MyFirstWebsite), create a new file named:
portfolio.htmlStep 2: Add This Code
<!DOCTYPE html>
<html lang="en">
<head>
<meta charset="UTF-8" />
<meta name="viewport" content="width=device-width, initial-scale=1.0"/>
<title>My Portfolio</title>
<style>
:root {
--primary-color: #3498db;
--secondary-color: #2ecc71;
--text-color: #333;
--bg-color: #f4f4f4;
--card-bg: white;
--spacing-sm: 10px;
--spacing-md: 20px;
--spacing-lg: 40px;
}
* {
box-sizing: border-box;
}
body {
margin: 0;
font-family: Arial, sans-serif;
background-color: var(--bg-color);
color: var(--text-color);
line-height: 1.6;
}
header {
background-color: var(--primary-color);
color: white;
padding: var(--spacing-lg);
text-align: center;
}
nav {
display: flex;
justify-content: center;
gap: var(--spacing-md);
background-color: #2c3e50;
padding: var(--spacing-sm);
}
nav a {
color: white;
text-decoration: none;
font-weight: bold;
}
nav a:hover {
text-decoration: underline;
}
main {
padding: var(--spacing-lg);
max-width: 1000px;
margin: auto;
}
section {
margin-bottom: var(--spacing-lg);
}
.about {
display: flex;
flex-wrap: wrap;
gap: var(--spacing-md);
align-items: center;
}
.about img {
width: 150px;
height: 150px;
object-fit: cover;
border-radius: 50%;
}
.skills {
display: flex;
flex-wrap: wrap;
gap: var(--spacing-sm);
}
.skill-tag {
background-color: var(--card-bg);
padding: 8px 15px;
border-radius: 20px;
border: 1px solid #ddd;
transition: background-color 0.3s ease;
}
.skill-tag:hover {
background-color: var(--primary-color);
color: white;
}
footer {
background-color: #2c3e50;
color: white;
text-align: center;
padding: var(--spacing-md);
}
/* Responsive */
@media (max-width: 768px) {
.about {
flex-direction: column;
align-items: center;
}
}
</style>
</head>
<body>
<!-- Header -->
<header>
<h1>Nadia Akram</h1>
<p>Web Developer & Learner</p>
</header>
<!-- Navigation -->
<nav>
<a href="#about">About Me</a>
<a href="#skills">Skills</a>
<a href="#contact">Contact</a>
</nav>
<!-- Main Content -->
<main>
<!-- About Section -->
<section id="about" class="about">
<img src="https://picsum.photos/id/1027/150/150 " alt="My Photo">
<div>
<h2>About Me</h2>
<p>Hello! I'm Nadia, a young web developer learning HTML, CSS, and JavaScript. I love building websites and making them look beautiful and work well on all devices.</p>
<p>I enjoy coding, playing games, and reading about space exploration!</p>
</div>
</section>
<!-- Skills Section -->
<section id="skills">
<h2>Skills</h2>
<div class="skills">
<div class="skill-tag">HTML</div>
<div class="skill-tag">CSS</div>
<div class="skill-tag">JavaScript</div>
<div class="skill-tag">Problem Solving</div>
<div class="skill-tag">Creativity</div>
</div>
</section>
<!-- Contact Section -->
<section id="contact">
<h2>Contact Me</h2>
<p>Email: nadia@example.com</p>
<p><a href="contact-form.html" class="btn">Send Me a Message</a></p>
</section>
</main>
<!-- Footer -->
<footer>
<p>© 2025 Nadia Akram. All rights reserved.</p>
</footer>
</body>
</html>💡 Replace the image URL with your own photo or avatar if available.
Step 3: Run with Live Server
Right-click the code → Show All Commands → Launch Live Server
🎉 You’ve just built a personal portfolio page using all your HTML & CSS knowledge — from layout and styling to responsiveness and interactivity!

🧪 Try It Yourself!
- Add a project showcase section below your skills using
gridlayout. - Style the button link to use transitions and hover effects.
- Add social media icons using
::beforeor emoji inside links. - Make the skills tags grow slightly when hovered using
transform: scale(1.1).
✅ Final Tips for Building Websites
Here’s what we used today:
- Semantic HTML structure
- CSS variables for theme consistency
- Flexbox for layout
- Responsive design with media queries
- Hover effects with pseudo-classes
- Reusable styles and good spacing
You’re now ready to start building your own websites, blogs, or online resumes !
🚀 Next Lecture Preview:
In Lecture 30 , we’ll learn how to make your website interactive by adding simple JavaScript — like showing alerts, changing text, or toggling dark mode — bringing your HTML & CSS pages to life!
Stay Updated
If you found this information useful, don’t forget to bookmark this page and Share.
HTML5 and CSS3 Compleate Series


