learning databases from scratch. This lecture explains how to set up SQLite.
It’s time to get practical. In this lecture, we’ll get SQLite ready to use on your computer. The best part? It’s incredibly simple.
What is SQL?
First, let’s clarify a term. We’ve mentioned SQLite, but you’ll also hear the term SQL (Structured Query Language).
SQL is the language we use to talk to a database. It’s how we give commands like “create a new table,” “insert some data,” or “find a specific person’s record.”
SQLite is the database *software* that understands and executes our SQL commands.
No Installation Needed!
With many databases, you need to run a complex installer and set up a server. SQLite is different. The entire database engine is a small library that many programming languages and tools can use directly.
For this course, we will use an online tool that gives you a direct interface to an SQLite database right in your web browser. This means you don’t have to install anything at all!
Our Online Tool: SQLite Online
We will use a free and popular online SQLite environment. One great option is SQLiteOnline.com.
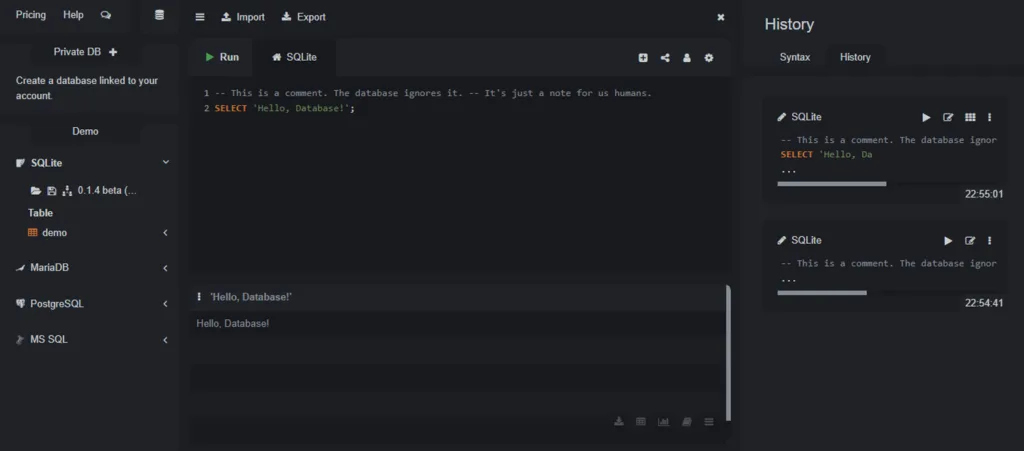
When you open the website, you will see a screen divided into a few parts:
- A text area on the left: This is where you will write your SQL commands.
- A “Run” button: You click this to execute the commands you’ve written.
- An output area on the right: This is where the results of your commands will be displayed.
That’s it! You are now ready to work with a database.
Creating Our First Database File
In SQLite, a whole database is stored in a single file, which usually ends with .db or .sqlite.
When you start using an online tool, it often creates a temporary, in-memory database for you. To save your work, you can usually go to File > Save DB and it will let you download the database file to your computer.
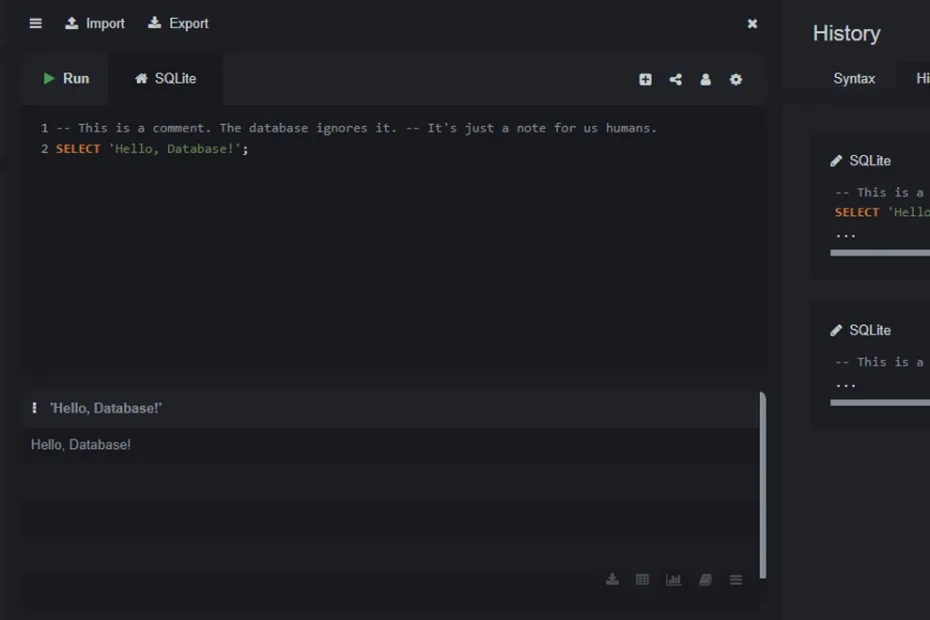
Let’s try our first command. In the SQL input box, type the following and press “Run“:
-- This is a comment. The database ignores it. -- It's just a note for us humans. SELECT 'Hello, Database!';In the results panel, you should see the text “Hello, Database!”. This confirms everything is working. You have successfully sent a command to the database and received a response.

In the Next Lecture…
Now that we have our environment ready, we will write our first *real* SQL command to create our very first table. This is where the fun really begins!

