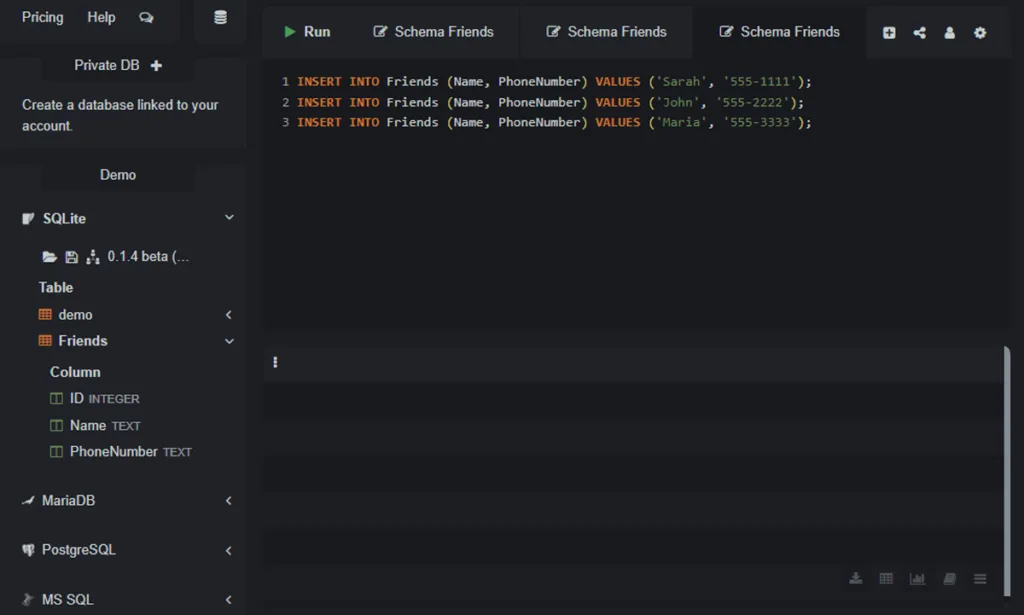
We have a beautifully structured, but completely empty, Friends table. Let’s change that by adding our first rows of data.This lecture covers the INSERT INTO command in SQL.
The INSERT INTO Command
The SQL command to add a new row of data is INSERT INTO. The basic structure is:
INSERT INTO table_name (column1, column2, ...) VALUES (value1, value2, ...);
You specify the table, list the columns you want to fill, and then provide the corresponding values.
Inserting Our First Friend
Let’s add our friend, Sarah, to the `Friends` table. Her phone number is “555-1111”.
Here is the SQL command:
INSERT INTO Friends (Name, PhoneNumber) VALUES ('Sarah', '555-1111');Let’s look at the details:
INSERT INTO Friends (...): We state our intention to add data to the `Friends` table.(Name, PhoneNumber): We specify exactly which columns we are providing data for.- Wait, what about the `ID` column? Remember how we marked it as
INTEGER PRIMARY KEY? This tells SQLite to manage this column for us automatically! It will assign a unique number (starting with 1) by itself. We don’t need to provide it. VALUES ('Sarah', '555-1111'): We provide the values that correspond to the columns we listed. It’s crucial that the order matches. ‘Sarah’ matches `Name`, and ‘555-1111’ matches `PhoneNumber`.- Notice that text values (strings) are enclosed in single quotes
' '.

Inserting More Friends
Let’s add two more friends to our table. We can execute these commands one after the other.
INSERT INTO Friends (Name, PhoneNumber) VALUES ('John', '555-2222');
INSERT INTO Friends (Name, PhoneNumber) VALUES ('Maria', '555-3333');
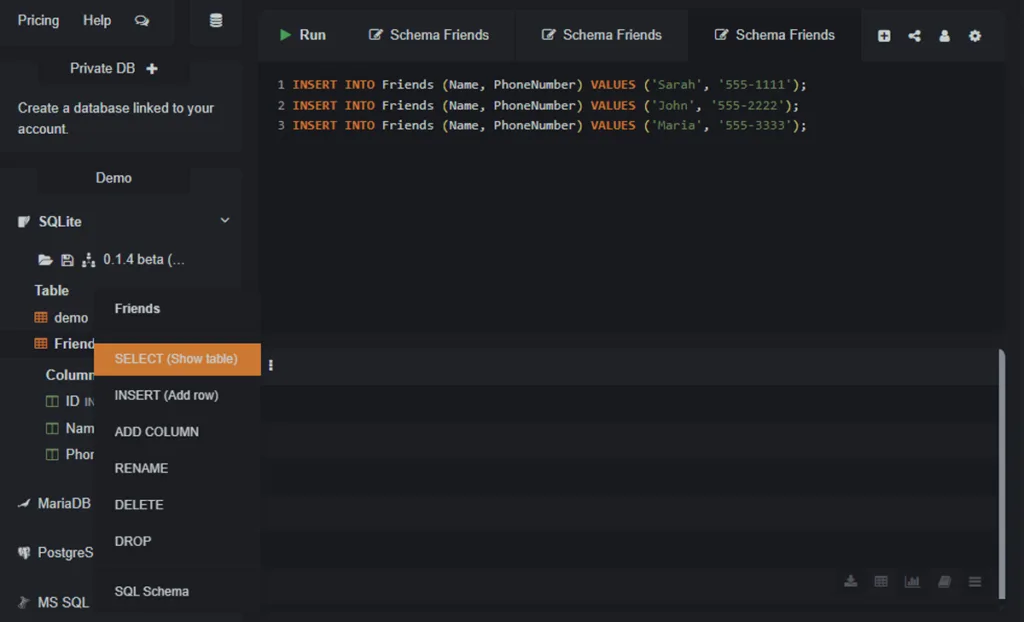
After running these three INSERT commands, our table now has three rows of data. But how can we see the data we just added?

A Sneak Peek at SELECT
The command to view data is SELECT, which we will cover in detail in the next lecture. For now, here’s a quick preview. Run this command to see everything in your table:
SELECT * FROM Friends;You should see a beautiful, organized table as the output, showing the ID, Name, and PhoneNumber for Sarah, John, and Maria. Notice how the `ID` column was filled in automatically!

In the Next Lecture…
We will dive deep into the most important and most used command in all of SQL: SELECT. You will learn how to retrieve and view your data in any way you can imagine.

