Let’s begin with Lecture 5 of the HTML5 & CSS3 series. Headings and Paragraphs in HTML. This lecture is for absolute beginners; even kids can follow along and understand.
🎯 Objective:
By the end of this lecture, you will:
- Understand how to use headings (
<h1>to<h6>and paragraphs (<p>) - Know why headings are important for structure and SEO
- Be able to write clean, well-organized content using HTML headings and paragraphs
🧒 What Are Headings?
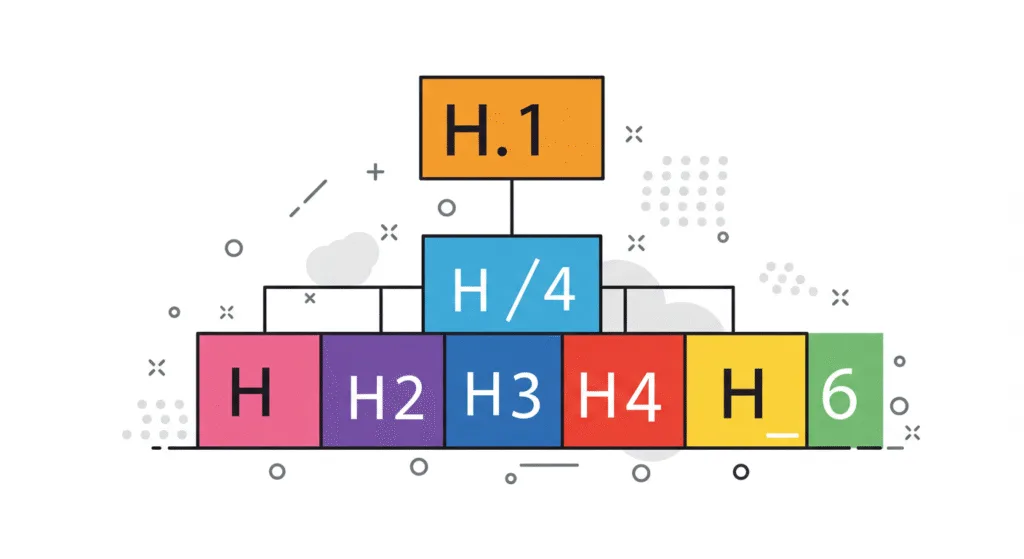
Headings are like titles and subtitles in a book. They help organize your webpage and make it easier to read.
Think of it like this:
If your website is a storybook, headings are the chapter titles that guide readers through the pages.
There are 6 levels of headings in HTML:
| Tag | Description |
|---|---|
<h1> | Main title (biggest) |
<h2> | Section heading |
<h3> | Sub-section |
<h4> | Smaller sub-section |
<h5> | Even smaller |
<h6> | Smallest heading |
🔤 Using <h1> to <h6>
Here’s how to use them:
<h1>This is the main heading</h1>
<h2>This is a section heading</h2>
<h3>This is a sub-section</h3>
<h4>This is even smaller</h4>
<h5>This is very small</h5>
<h6>This is the smallest heading</h6>
✍️ What Is a Paragraph?
A paragraph (<p>) is used to write blocks of text on your webpage.
Think of it like this:
Just like you write sentences in school, you use
<p>tags to write sentences on your website.
Example:
<p>This is my first paragraph. I am learning HTML and building my own website!</p>

<p>Today I learned about headings and paragraphs. It's fun to learn how websites work.</p>
💡 Why Use Headings and Paragraphs?
- Better readability: Makes your page easy to read.
- Good for SEO: Search engines like Google use headings to understand your content.
- Screen readers use them too: They help people with disabilities navigate your site.

💻 Try This: Build a Simple Article Page
Let’s create a new HTML file that looks like a mini article or blog post.
Step 1: Create a New File
In your VS Code project folder (MyFirstWebsite), create a new file named:
my-article.htmlStep 2: Add This Code
<!DOCTYPE html>
<html>
<head>
    <title>My First Article</title>
</head>
<body>
    <h1>Welcome to My Blog</h1>

    <p>Hello! In this article, I'm going to share some fun facts about animals.</p>

    <h2>Cats</h2>
    <p>Cats are amazing pets. They love to sleep, play, and sometimes knock things off tables!</p>

    <h2>Dogs</h2>
    <p>Dogs are loyal friends. They wag their tails when they're happy and love going for walks.</p>

    <h2>Birds</h2>
    <p>Birds can fly and sing beautiful songs. Some birds even talk!</p>
</body>
</html>
Step 3: Run with Live Server
Right-click the code → Show All Commands → Launch Live Server
🎉 You just made your first blog-style article!
🧪 Try It Yourself!
- Add an
<h3>under one of the sections (like “Did You Know?”). - Add another paragraph about your favorite animal.
- Change it
<h1>to something more creative, like"The Animal Kingdom Adventure". - Try adding a line break (
<br>) inside a paragraph.
🚀 Next Lecture Preview:
In Lecture 6, we’ll learn how to make text bold, italic, and underlined using HTML tags like <b>, <i>, and <u> — just like in word processors!
Stay Updated
If you found this information useful, don’t forget to bookmark this page and Share and leave your feedback in the comment section below.
