This lecture covers the DELETE command to remove data. We have now covered Create, Read, and Update. The final core operation is Delete. The DELETE command is used to permanently remove one or more rows from a table.
This is the most dangerous of the four commands, because once data is deleted, it is gone forever. There is no “undo” button!
The `DELETE FROM` Statement
The syntax for deleting rows is straightforward:
DELETE FROM table_name WHERE condition;
CRITICAL WARNING: Just like with the UPDATE command, the WHERE clause is absolutely essential. If you execute a DELETE command without a WHERE clause, it will delete every single row from your table, leaving it empty. ALWAYS BE CAREFUL!
Deleting a Single Row
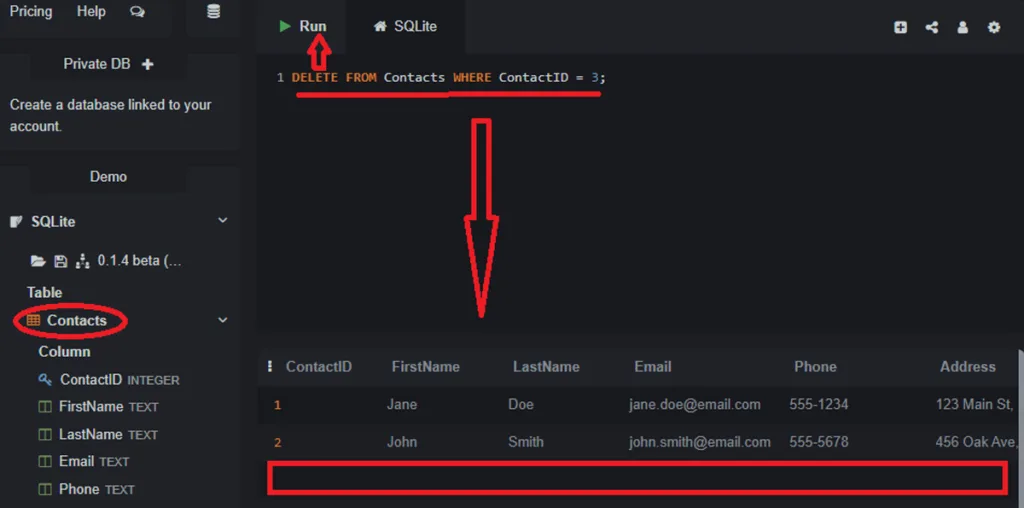
Let’s say we want to remove Emily Jones from our `Contacts` table. We can identify her by her name or, more safely, by her unique `ContactID`. Let’s assume her ID is 3.
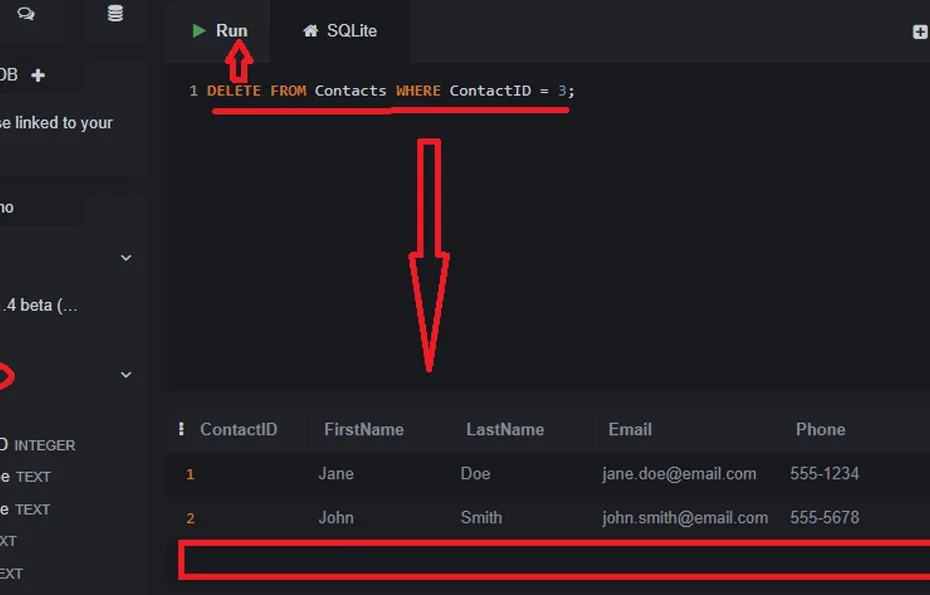
DELETE FROM Contacts WHERE ContactID = 3;Let’s break it down:
DELETE FROM Contacts: We state our intent to remove data from the `Contacts` table.WHERE ContactID = 3: This is our precise filter. It tells the database to only delete the row where the `ContactID` is exactly 3.
After running this, the record for Emily Jones is permanently gone. If you run SELECT * FROM Contacts;, you will only see the records for Jane Doe and John Smith.
Deleting Multiple Rows
The `WHERE` clause can also be used to delete multiple rows that match a condition. For example, if you wanted to delete all contacts from a certain city, you could. (Our current table doesn’t have a city column, but you can imagine how it would work).
CRUD Mastered
Congratulations! You now understand the four fundamental operations of data management:
- Create –
INSERT - Read –
SELECT - Update –
UPDATE - Delete –
DELETE
With these four commands, you have the power to manage the entire lifecycle of data in a database table.
In the Next Lecture…
Now that we can manage our data, we will look at how to control the way it is presented to us. We will learn how to sort the results of our `SELECT` queries using the ORDER BY clause.
